

There’s nothing like a fresh set of acrylics. They look polished, feel strong, and make your hands look put together. But a few weeks in, that same set can start to look grown-out and messy.
When a salon visit isn’t possible, the temptation to bite, pick, or rip off your acrylics can be strong. Resist it. Aggressive removal can tear away layers of your natural nail, weaken the nail bed, and even cause bleeding or infection.
The good news is that you don’t need a salon appointment to remove acrylics safely. With the right tools and a little patience, you can dissolve your extensions at home without pain or lasting damage. This guide walks you through every step, from prep work to aftercare, so your natural nails come out healthy on the other side.
Why You Should Never Rip Off Acrylic Nails
It’s tempting to just peel a lifted acrylic off in one go. It feels faster. It isn’t safer.
When you pull, bite, or chew acrylics off, you strip away the top layers of your natural nail along with the product. This leaves your nails thin, weak, and prone to peeling for weeks afterward. In more serious cases, forcing off an acrylic can damage the nail bed underneath, causing pain, bleeding, and a much longer recovery time.
Safe removal takes more patience, but it protects the structure of your natural nail. That means healthier hands and a faster path to your next manicure.
What You Need for Safe DIY Acrylic Nail Removal
Before you start, gather your supplies. Having everything ready makes the process smoother and helps you avoid rushing any step.
Supplies to Gather
- 100% pure acetone nail polish remover
- Nail clippers
- Coarse and fine file-buffing blocks
- Cuticle sticks (orange wood or metal cuticle pushers)
- Aluminum foil
- Cotton balls or cotton discs
- A shallow metal or glass bowl (if using the soak method)
- Cuticle oil, moisturizer, or hand cream
Pure acetone is important here. Non-acetone removers won’t break down acrylic effectively, and you’ll end up soaking longer than necessary.
Step-by-Step Nail Prep
Two quick prep steps make the entire removal process faster and gentler on your nails.
- Trim the length. Use nail clippers to shorten your acrylics as close to your natural nail as you comfortably can. Shorter nails mean less acrylic to dissolve.
- Break the seal. Gently file the top of each nail to remove the glossy topcoat. You’re not trying to file through the acrylic, just rough up the shiny surface.
This second step matters more than people think. A matte, textured surface lets acetone soak into the acrylic layer much faster. That means less time with your fingers wrapped in chemicals, and less exposure for your skin.
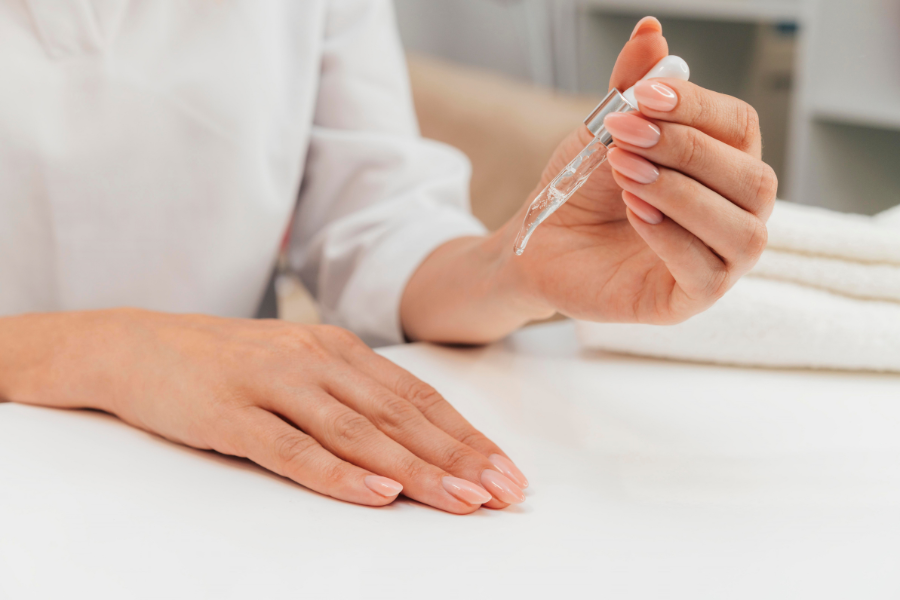
Method 1: Safe Acrylic Nail Removal Using the Acetone Soak-Off
This is the method most nail professionals rely on, and it works just as well at home. There are two ways to do it: the foil-wrap technique and the bowl soak. Both use the same basic idea, but the foil method controls exposure a bit more precisely.
The Foil-Wrap Technique
Step 1: Warm the acetone. Run the closed acetone bottle under warm water, or set it in a bowl of warm water for a few minutes. Warm acetone dissolves acrylic faster than cold acetone, which shortens the whole process.
Important safety note: Never heat acetone in a microwave or on a stovetop. Acetone is highly flammable, and direct heat creates a real fire risk. Warm water is the only safe method.
Step 2: Saturate cotton and apply. Soak a cotton ball, or a quarter of a cotton pad, in the warmed acetone. Press it directly onto one nail.
Step 3: Wrap with foil. Tear off a small square of aluminum foil for each finger. Wrap it snugly around the fingertip to hold the cotton in place. The foil also helps trap warmth and stops the acetone from evaporating too quickly.
Step 4: Wait it out. Let the wraps sit for 20 to 30 minutes. This gives the acetone enough time to break down the acrylic layer completely.
Step 5: Slide, don’t scrape. Remove the foil and check the acrylic. It should look soft and slightly wrinkled. Use an orange wood cuticle stick to gently push the softened acrylic away, working from the cuticle down toward the tip.
Step 6: Repeat if needed. If any acrylic feels hard or resists movement, don’t force it. Rewrap that nail and soak for another 5 to 10 minutes before trying again. Scraping too hard can damage the nail underneath, so patience matters more than speed here.
The Shallow Bowl Soak Technique
If you’d rather skip the foil, a bowl soak works too. It just requires a bit more hands-on attention.
- Pour warmed acetone into a shallow glass or metal bowl. Plastic can react with acetone, so stick to glass or metal.
- Dip your nails into the bowl, keeping the soak limited to just the nail area to protect your skin.
- Soak for 5 minutes, then use a cuticle stick to gently push away any acrylic that has softened.
- Re-dip for another 5 minutes and repeat the process until your natural nails are bare.
This method gives you more control since you can check your progress every few minutes. It also uses more acetone than the wrap method, so keep that in mind if you’re working with a small bottle.
Method 2: How to Safely Remove Acrylic Nails Without Acetone
Acetone isn’t for everyone. If you have sensitive skin or simply want to avoid the chemical smell, there are gentler alternatives. They take longer, but they still get the job done.
The Warm Water and Soap Soaking Method
This approach relies on moisture and time instead of chemicals. It’s a solid option if you’re not in a rush.
Set up your soak. Fill a bowl with warm water, as hot as you can comfortably stand. Add a few drops of dish soap or shower gel. To keep the water warm longer, wrap the bowl in a towel or set it near (not on) a heat source like a candle.
Soak your fingertips. Submerge your nails for about 30 minutes. Check periodically for spots where the acrylic edges start lifting away from your natural nail.
Loosen gently. Once you spot lifted edges, slide a cuticle stick into the gap between the acrylic and your natural nail. Move slowly and stop if you feel resistance.
Repeat as needed. Re-submerge your nails and continue the process until each extension detaches on its own. This method can take longer than an acetone soak, sometimes requiring multiple rounds, but it’s much gentler on your skin.
The Electric Nail File Method (Use With Caution)
An electric nail file, or e-file, can grind away acrylic without any chemicals at all. It sounds convenient, but it comes with real risk.
If you don’t have experience with an e-file, or if you drill too aggressively, it’s easy to go too far. Drilling past the acrylic and into the natural nail bed can cause bleeding, sharp pain, and damage that takes months to heal.
If you’re new to nail care, skip the e-file and stick to soaking methods instead. Speed isn’t worth the risk of injuring your nail bed.
Aftercare: Restoring Your Nails After Removal
Getting the acrylic off is only half the job. Whatever method you used, your natural nails and the skin around them need some care afterward. Acetone in particular is very drying, even when used correctly.
Rehydrate Your Nails and Cuticles
Start by washing your hands thoroughly to remove any leftover acetone or soap residue. Then gently buff your nails with a fine buffing block to smooth away any last bits of product. Finish by massaging a rich cuticle oil or hand cream into your nail beds and the surrounding skin.
Choosing the Right Oils
Not all oils do the same job. Some are better for softening cuticles, while others help strengthen the nail plate itself.
For softening cuticles:
- Jojoba oil
- Sesame oil
- Lavender essential oil
For strengthening nails:
- Sweet almond oil
- Myrrh oil
- Olive oil
Look for oils rich in Omega 6 and Omega 9 fatty acids, along with vitamin E. These ingredients help repair the nail plate and keep the surrounding skin from drying out.
Give Your Nails a Recovery Break
After a soak-off, your nails need time to bounce back. Apply a nail-strengthening treatment for at least a week to help rebuild their structure.
It also helps to take a short break from polish and extensions altogether. Keep your nails short and bare for a week or two. This gives them a chance to recover their natural strength before your next manicure or set of extensions.
Frequently Asked Questions About Safe Acrylic Nail Removal
How long can I safely wear acrylic nail extensions?
Most nail professionals recommend wearing acrylics for 3 to 4 weeks at a time. After that, your natural nails grow out enough that the extensions start looking unnatural and lose some of their structural integrity.
What’s the biggest danger of peeling or chewing off acrylics?
Peeling or chewing acrylics strips away critical layers of your natural nail. This leaves your nails thin and flimsy, and in severe cases, it can damage the nail bed underneath. That kind of damage can cause real pain and take months to fully heal.
Why can’t I microwave acetone to warm it up?
Acetone is highly flammable. Heating it in a microwave or on a stovetop creates a serious fire hazard. The only safe way to warm it is by placing the sealed bottle in a bowl of warm water.
Can I get salon-level results doing this at home?
Yes, as long as you use the right tools and take your time. Pure acetone, foil, and cuticle sticks, combined with patience, can get you results close to what you’d get in a salon chair.
Final Thoughts
Removing your own acrylics doesn’t have to mean damaged nails or a trip to the salon. With the right prep, the right tools, and a bit of patience, you can safely dissolve your extensions at home, whether you choose the acetone soak or a gentler chemical-free method.
The key is not rushing the process. Let the acetone or warm water do the work instead of forcing anything off. Follow up with rich cuticle oils and a short recovery break, and your natural nails will bounce back stronger and healthier for your next set.
If you enjoyed learning the craft behind safe nail removal, you might enjoy going further. Consider exploring an online nail technology course to build real skills, whether you want to master at-home nail care or even start a side business helping others.