

More and more clients are looking for bold and contrasty colours on their lips. And how can they not be when the entire internet is praising the statement lips all over again! Yes, the statement lips are back, and they are trending even more than before.
But simply applying vivid lip gloss isn’t enough. The statement lips come down to balancing texture, keeping the surrounding canvas muted or quiet, and controlling the edge of the application. This can become jarring at times, so today in StyleSpeak, we will discuss how to make the bold lips manageable and not overdo it in the process.
3 Rules for Managing Statement Lips Without Overdoing It
Rule 1: Limit or Remove Competing Focal Points

So when using a bold statement lip, make sure that other competing focal points are muted or controlled. A heavy contour or smoky eyes will only push the look towards a heavy, theatrical look. So to overcome that,
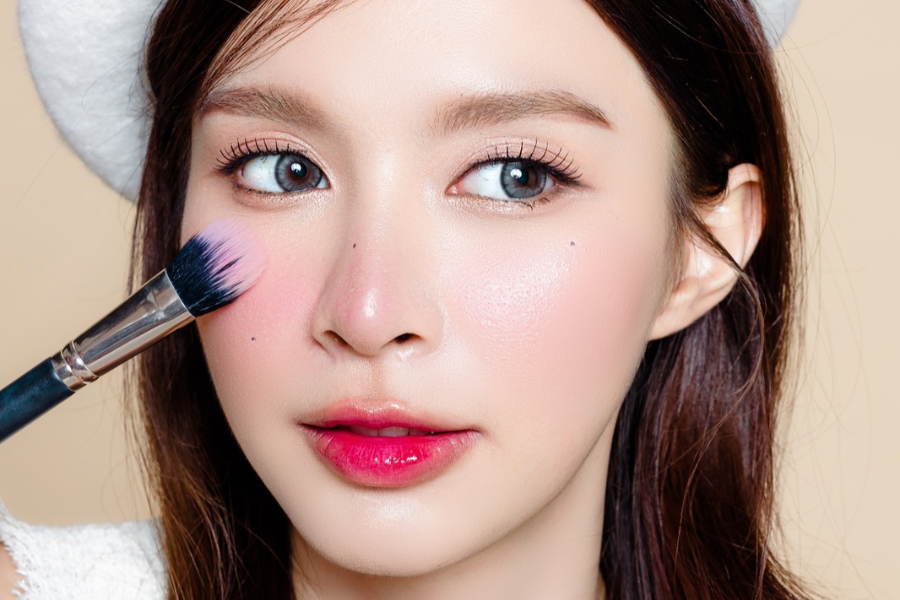
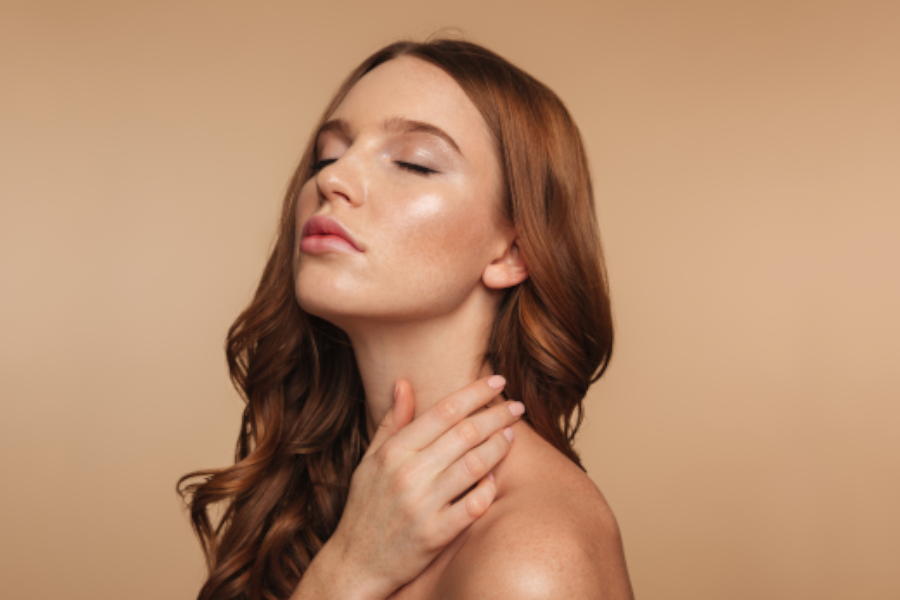
- Skin: Aim for a fresh, clean-girl look. Blemishes and redness should be spot-concealed, instead of using a heavy foundation to do the same. Keep the profile light, and if you have radiant or satin skin, finish it with a matte lipstick. Or go for a high-shine lip gloss for a demi-matte skin.
- Eyes: Groomed eyebrows, a light coat of mascara, and curled lashes- basically, that’s what you need. For eyeliners, go for a minimal tightlining or a neutral taupe, or similar colored eyeshadow for the lids.
- Cheeks: A tiny amount of skin-friendly lipstick or blush is more than enough. This will mute the entire face, leaving the statement lips as the focal point.
Rule 2: Right Texture and Application Technique

Textures like matte and glossy make a huge difference. Same goes for how you apply a bold shade. Each step matters in creating the perfect balance between contrast and the lips. For example,
- French-Girl Stain: Instead of directly staining the lip, apply a small dab at the center and use your pinky finger, or a soft eyeshadow blending brush, to blend it outwards. This softens the pigments and creates a worn-in look.
- Diffused Edges: A razor-sharp outline can look stiff and give the impression of overdoing it. So take a soft cotton swab and gently tap it against the edges, effectively eliminating any harsh lines.
- Tinted Formulas: Some clients may not like the heavily saturated colors and want something a bit softer. In that case, start with a tinted lip oil or lip balm, and build the formula over it.
Rule 3: Recalibrate and Trust Your Intuition
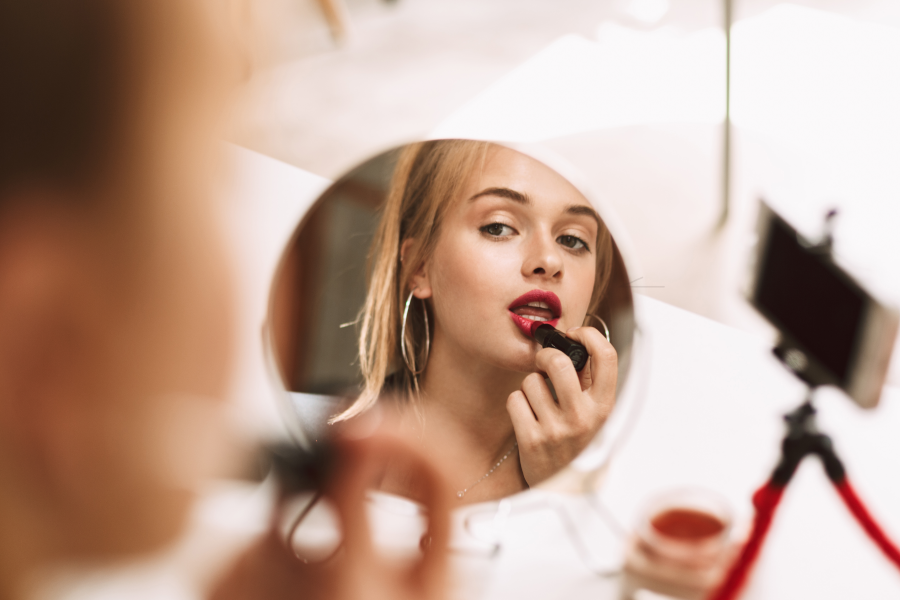
Sometimes seeing the bright red or berry colors may feel intimidating. It’s because our brain takes time to adjust. So, take a 10-minute break, return to the mirror, and check the hue again.
It should feel tolerable now. Not because the color suddenly faded, but because your brain has adjusted to the lip’s vibrancy. In case it still feels jarring after 10 minutes, blot the stain down with a tissue or cotton swab until it feels right or turns into a soft stain.
The Salon Secret to Flawless Statement Lips
Salons in India use specific steps to achieve the best statement look.
Step 1: Prep the Canvas
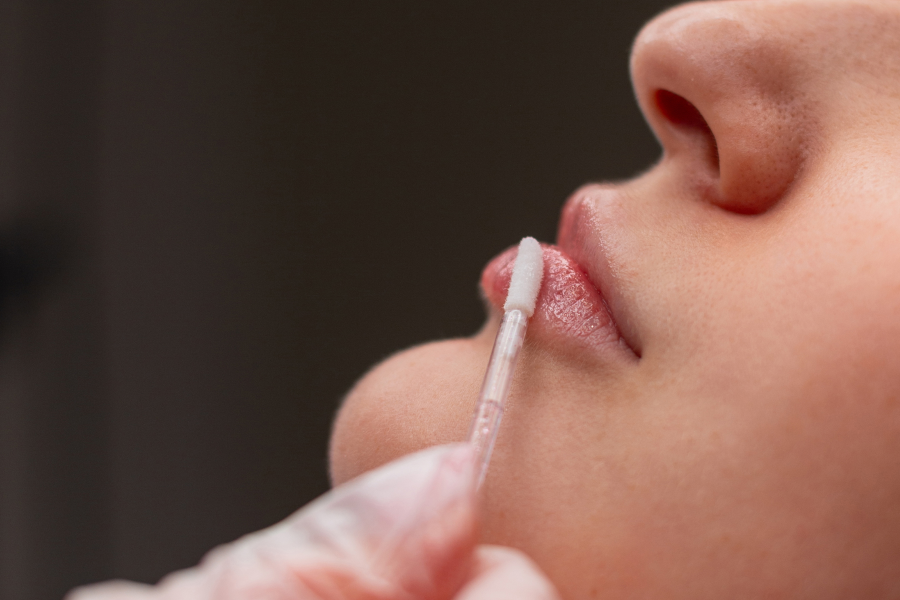
Flakes or Dry patches will immediately magnify when the bold pigments touch them. So a salon professional always exfoliates dead skin from the lips, followed by a hydrating lip balm. The balm sits there for 5-10 minutes.
Once the lip looks plump and healthy, the balm is wiped completely with tissue paper. Because sticky surfaces can slide or bleed the bold pigments. A lip mask can be used in place of lip balm if the lip needs deep hydration and nourishment.
Step 2: Blank the Canvas
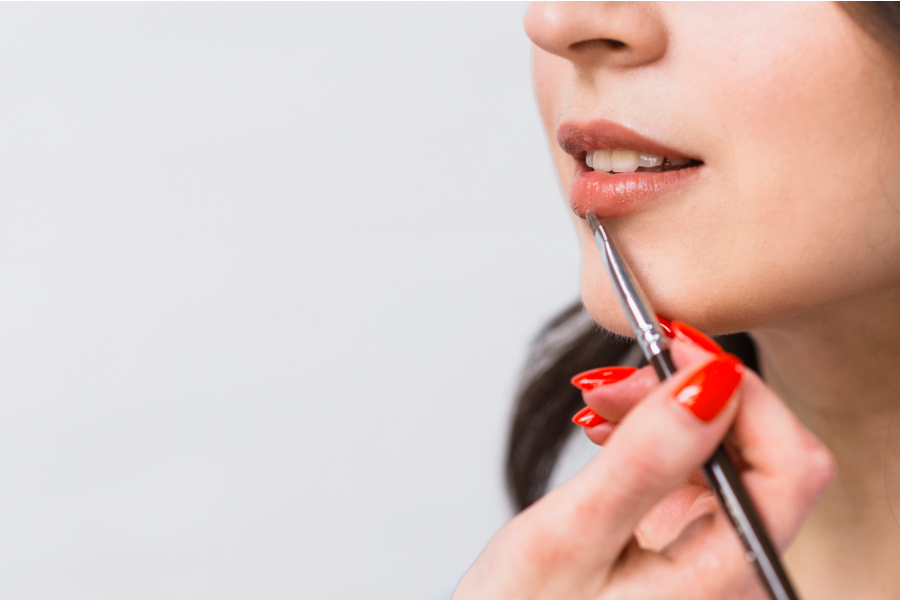
Prepping is done, but the natural lip color still looks dominant and may affect the bold pigments. So they use any leftover foundation or skin concealer and gently sweep it across the lips.
Now the muted surface is ready for the high-pigmented lipstick or gloss, while the natural pink or deep lip colors are controlled.
Step 3: Mapping with a Lip Liner
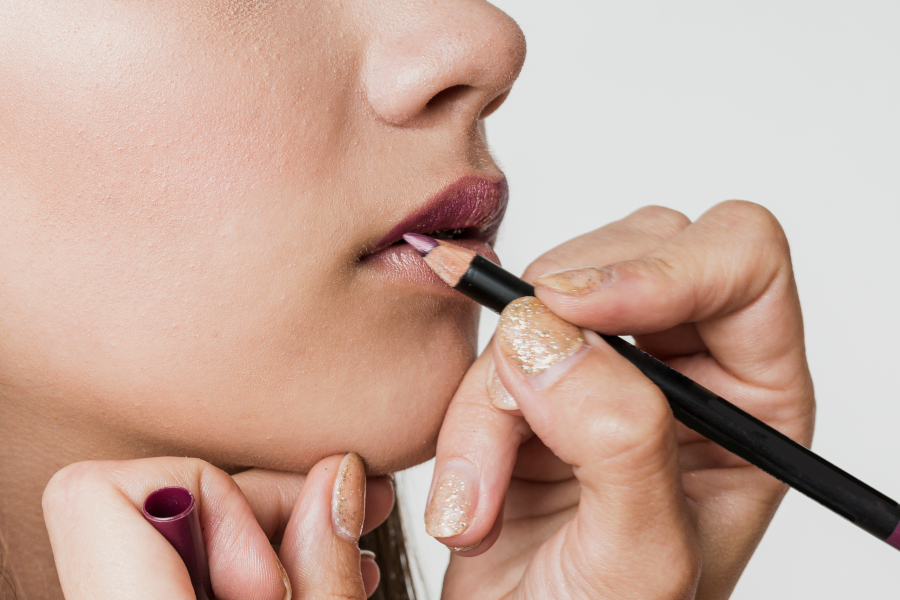
Now the salon artist will use a lip liner and draw the outline. The freshly sharpened pencil usually matches the lipstick, or a shade deeper in dimension. Here are some famous mapping styles salon pros love to use,
- Cupid’s Bow: An “X” is drawn directly at the center peaks.
- Bottom Lip: A flat, horizontal line is drawn at the very center of the lower lip line.
- Corners: A short, light stroke is used to connect the corners inward towards the center.
Step 4: Applying the Bold Color with a Brush

Lipstick is never applied directly to the lips. First, it is deposited onto a palette or the back of the hand, then a dedicated brush is used to apply the lipstick from the center outwards.
Then it’s swiped across while pressing it into the lip texture. This allows the pigments to fall into the lip crease, creating opaque and uniform saturation.
Step 5: The Double Blot & Set Method
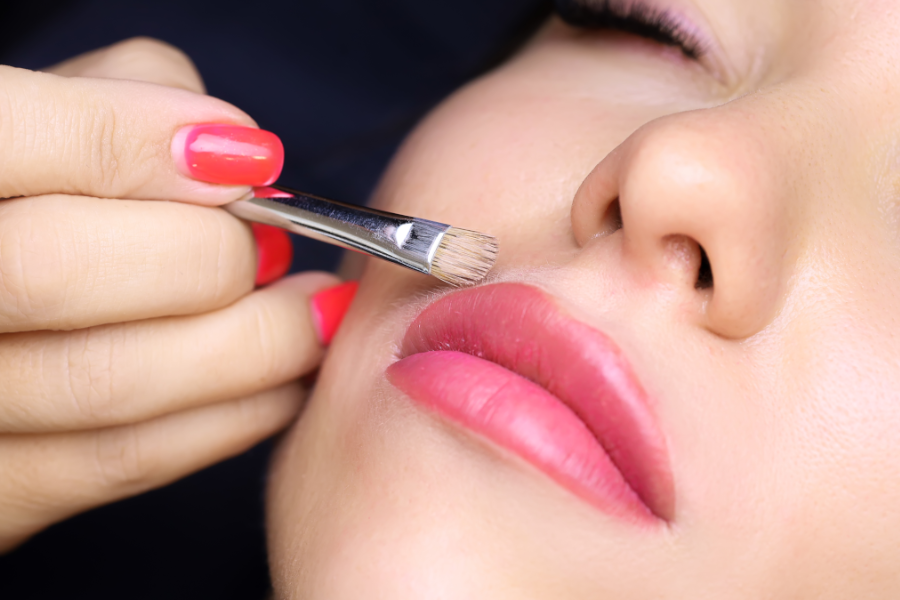
Some salons use this method to lock the colors for 8+ hours. It is done as follows,
- A 2-ply tissue is separated, leaving one translucent layer.
- That layer is placed flat over the lip, before it’s gently pressed.
- Take a fluffy powder brush and dust a small amount of translucent loose setting powder on top of the lips. (While the tissue paper is still on)
- The tissue is removed after the powders soak up the oil without making the lip look chalky.
- And finally, a thin coat of lipstick is applied over the set base using a brush.
This gives a matte-like finish to the lips while keeping the profile extremely light.
Step 6: Concealer Carving
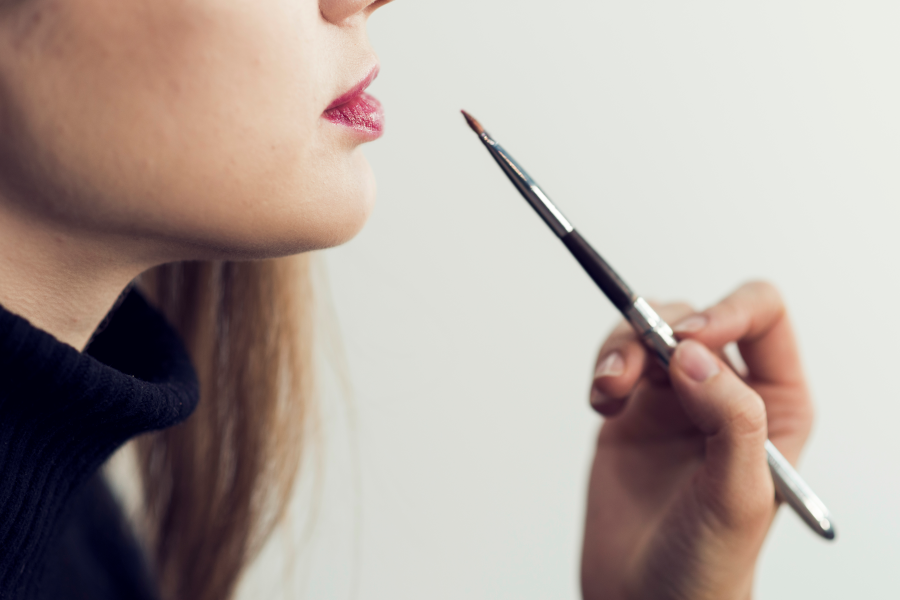
If the client wants her lips to look razor-sharp, then the artist uses a concealer with the exact same shade as the client’s skin tone. Then a flat, angled detail brush is coated with the concealer before tracing the outer perimeter of the lip.
Any bleeding edges are cleaned, and the bold lip is framed against the skin. Make it the focus of the entire makeup.
The StyleSpeak Take
The salon statement lips aren’t thicker; they carefully layer various thin, microscopic veils one over another. This creates the crisp, vibrant lip texture that lasts all day while being completely transfer-resistant. That’s the proper definition of a statement lip without overdoing it. Similar results can also be achieved at home as long as the steps are masterfully followed.